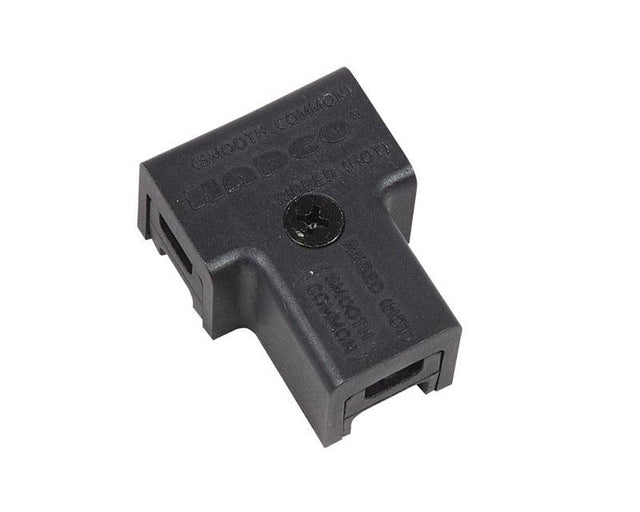

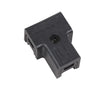
Hadco LVC4 Low Voltage T Connector
Hadco LVC4 Low Voltage T Connector is backordered and will ship as soon as it is back in stock.
Couldn't load pickup availability
Hadco LVC4 Low Voltage T Connector
Description
Description
The Hadco LVC4 Connector is a low voltage connector for branching off existing low voltage cable for additional runs. LVC4 Low voltage cable "T" connector to be used with 8, 10, or 12 gauge supply cable.
The Hadco LVC3 Connector is a low voltage quick connector with positive lock screw design. Features include heavier prongs for a more positive connection with base ensures proper fit for single circuit.
The Hadco MA22 is a silicone-filled wire connector necessary to protect splicings from moisture and oxidation for up to 10 gauge wire.
Features
- Quick and easy installation
- Various options available
Specifications
Accessories: Low Voltage "T" connector for branching off existing low voltage cable for additional runs. Boxed twelve (12) per carton.
LOW VOLTAGE CABLE CONNECTOR INSTRUCTIONS
Low voltage cable "T" connector to be used with 8, 10, or 12 gauge supply cable. Hadco recommends using SPT-3 water resistant (marked "WA", "W" or similar marking) supply cable such as our SCW500-10 or our SCW100-12. Hadco also recommends ordering the entire system, which includes the power console (maximum 25 Amps, 15 Volts per circuit), fixture(s), and supply cable to ensure proper installation and operation.
When using our supply cable, it can be laid on top of the ground, placed under "ground cover" (that is, shallow burial less than 6 inches or 15.2 cm deep), or directly buried in accordance with the NEC. If not using our cable, install per NEC standards.
Hadco recommends a minimum depth of 4 inches when burying in the lawn to prevent damage from aerators or other lawn plugging equipment.
WARNING- Mount the Luminaire in or on non-combustible mounting surfaces only.
WARNING- Risk of Electric Shock. Install all luminaires 10 feet (3.05m) or more from a pool, spa, or fountain.
1. Connect the supply cable to the terminals on the power console (transformer) and turn ON.
2. Disassemble the connector by removing the Philips head screw.
3. Press the supply cable 1 into the recess marked '8/2 or 10,12/2 GA' on the connector body. Only 2-wire cable is to be used and the common (smooth) and hot (ribbed) wires must be oriented as shown. TIP: Coat the end of supply cable 1 with RTV silicone to prevent electrical shorts and corrosion from moisture.
4. Press the supply cable 2 into the recess marked '10,12/2 GA' on the same side of the connector body as supply cable 1. Again, the common (smooth) wire and hot (ribbed) wires must be oriented as shown.
5. Press the connector cover onto the connector body, making sure the screw holes line up with each other.
6. Assemble the connector by tightening the Philips head screw. Torque screw to 30 IN-LBS max; over-tightening will cause the threads on the body to fail. NOTE: Make sure the metal prongs in the connector pierce all 4 wires.
Product Files

Payment & Security
Payment methods
Your payment information is processed securely. We do not store credit card details nor have access to your credit card information.